

Problem-driven opening: where design meets compliance
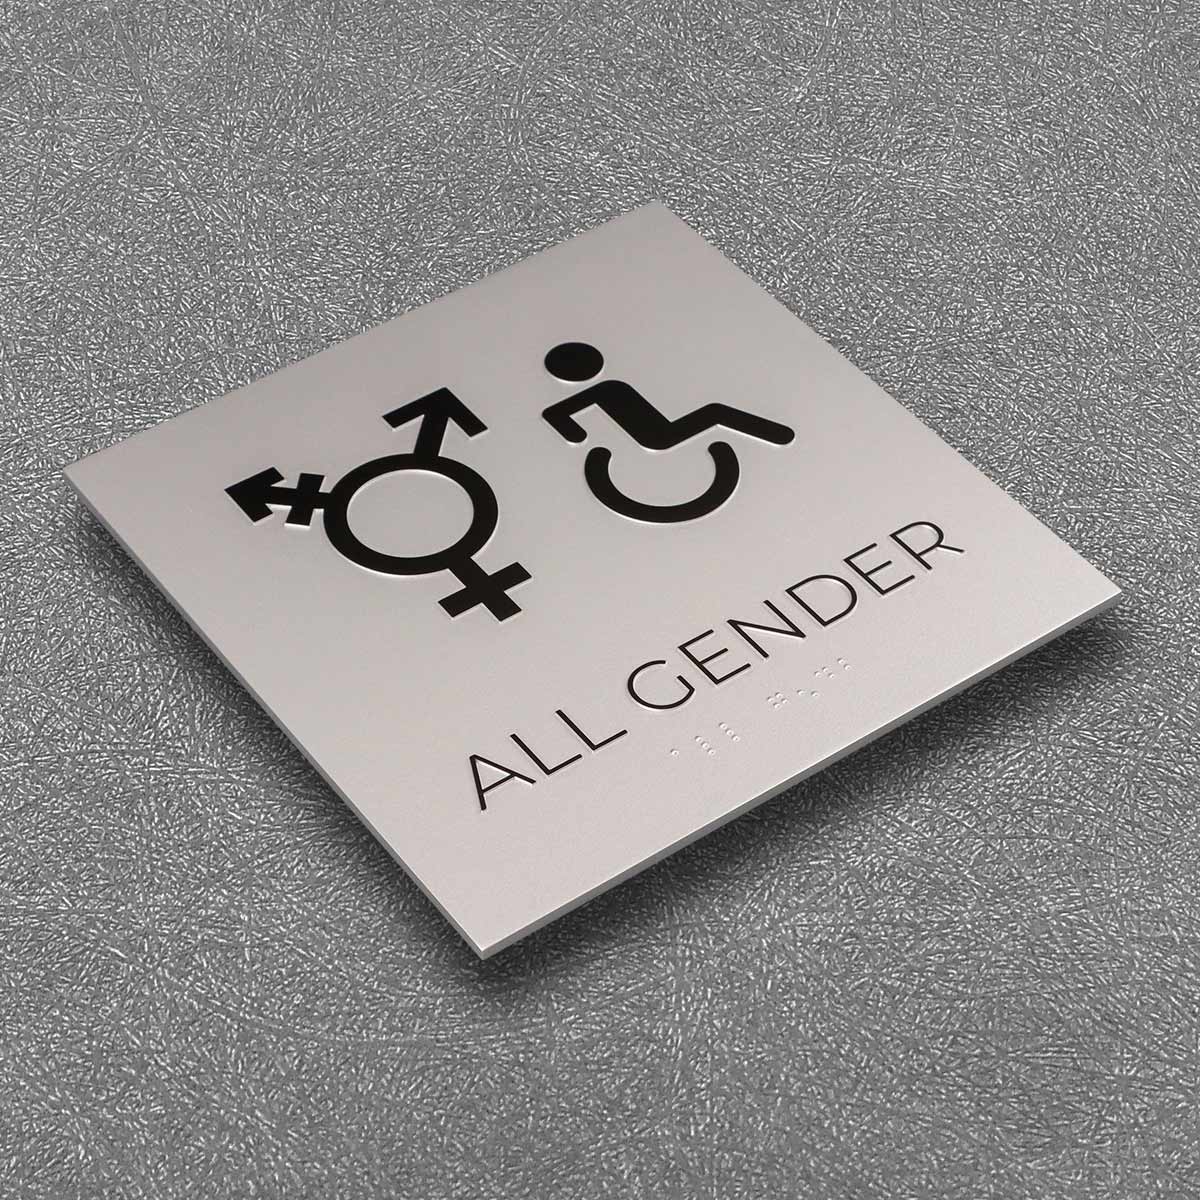
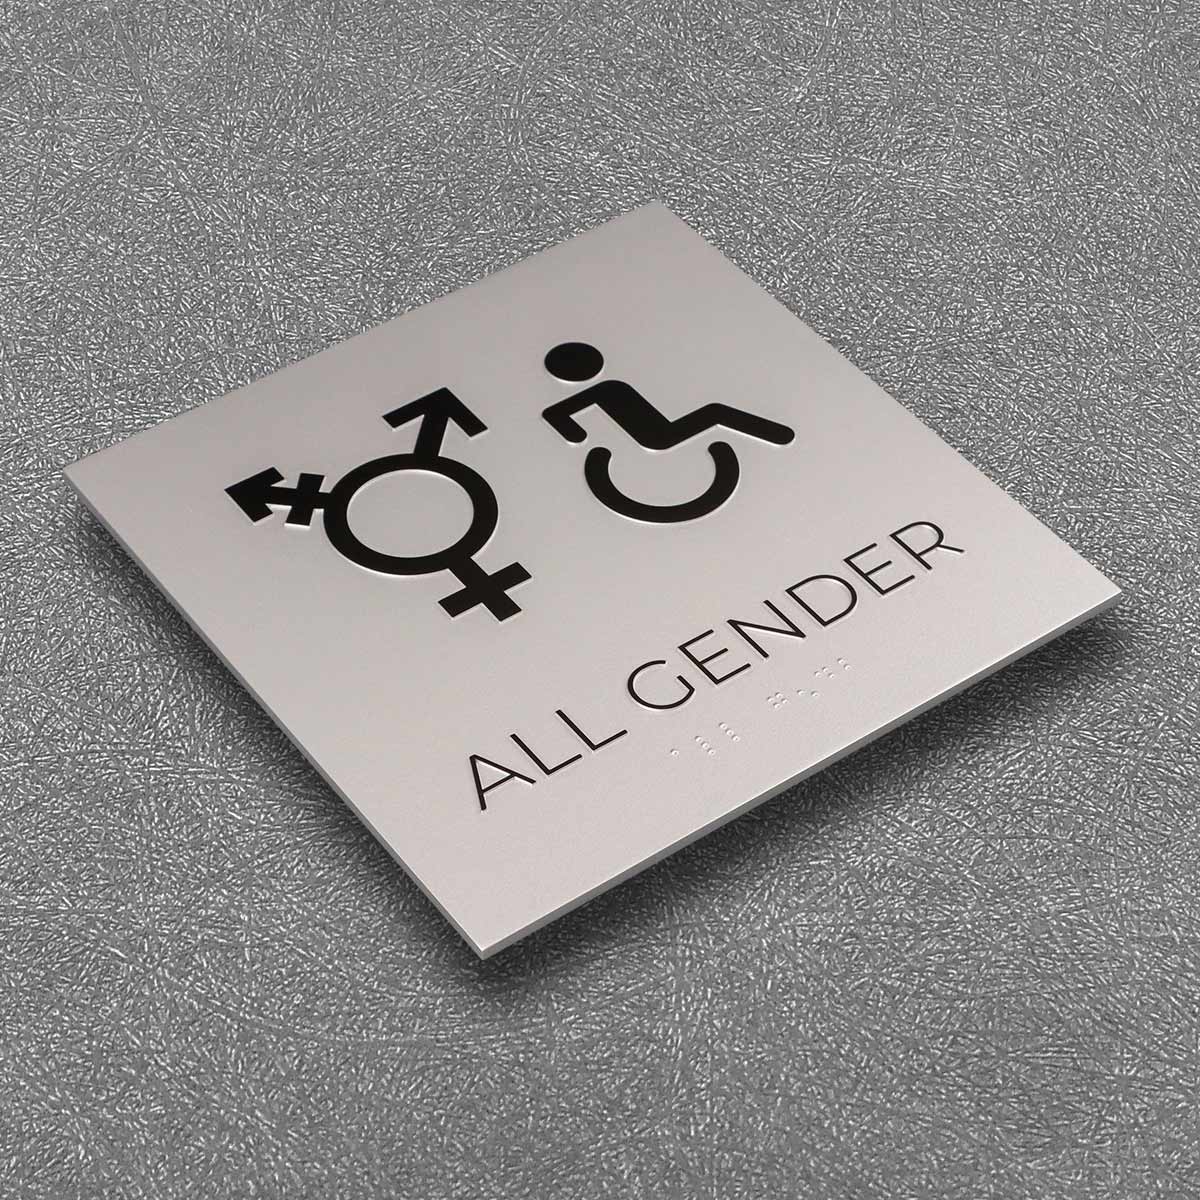
Large-scale façade signs and illuminated channel letters often forget the small things that matter most: tactile accessibility and clear wiring paths. That oversight creates costly reworks and compliance headaches for building owners and sign fabricators alike. For projects that must include ada braille signs and accessible wayfinding, the challenge is not just aesthetic — it is structural and electrical. The Americans with Disabilities Act (ADA) mandates tactile characters and Braille on many interior and exterior signs, so an integrated plan that covers tactile characters, raceway mounting and wiring runs from the start avoids late-stage clashes. Consider the work that goes into a multi-tenant lobby: illuminated channel letters, standoffs, and grade 2 Braille must all share finite wall real estate; this forces pragmatic choices about mounting substrate and photopolymer face treatments early on.
Diagnosing the common failures
Problems often cluster around three areas: inadequate anchoring, poor electrical access, and retrofitted braille位置 that fails height or finish standards. Anchoring errors show up as warped faces or misaligned letters when the substrate can’t bear the load of heavy modules. Electrical mistakes are usually the result of ad hoc conduit placement that obstructs the tactile field or creates unnaturally exposed splices. Finally, tactile mistakes—incorrect character height, wrong contrast, or improper grade 2 Braille spacing—turn compliant signage into code violations. Each is solvable with a blueprint that prioritizes tactile clearances and planned raceway mounting before final layout approval.
Blueprint essentials: structural fitting and wiring logic
Start with a layered plan. First, map the tactile field and minimum mounting heights required by ADA. Next, overlay the structural supports: specify anchors into solid substrate, use anodized aluminum backer plates where possible, and define standoff depths so that illuminated channel letters do not intrude into tactile zones. Then define the electrical conduit paths—grouped runs behind the primary raceway to minimize splice access points and to keep live feeds away from tactile surfaces. Where LEDs are used, plan for driver access and ventilation in a dedicated cavity; avoid hidden splices under tactile plaques. A clear wiring schedule coupled with photopolymer or metal face specifications prevents finish conflicts during installation.
Materials, finishes, and method comparisons
Choices here affect both longevity and compliance. Photopolymer panels offer precise tactile dots and consistent contrast but need proper backing to prevent flex. Anodized aluminum survives weather and pairs well with illuminated channel letters for curb appeal. Raceway mounting is faster for large counts but demands exact placement relative to braille plaques; standoffs give flexibility but add visual depth that must be reconciled with tactile clearance. When budgets limit options, prioritize tactile accuracy over decorative extras—durable grade 2 Braille and clear contrast are non-negotiable.
Common mistakes and how to avoid them
Installers frequently make three avoidable errors: assuming existing anchor points suffice, neglecting service access for LED drivers, and retrofitting braille after layout approval. Avoid those by locking the tactile layout first, validating anchor loads with simple pull tests, and allocating a dedicated service panel for power and drivers away from tactile fields. Also, run a mock-up early on—a small section of the sign mounted at full scale—and inspect tactile spacing, contrast, and electrical access before full fabrication.
Project workflow and stakeholder roles
Clarity in roles prevents costly iterations. The architect should confirm tactile placement and sightlines; the sign engineer must certify anchor specs and raceway routing; the electrician stages conduit and drivers per the wiring schedule; the fabricator delivers the photopolymer or metal plaques to spec. When teams coordinate on one drawing set, change orders drop and installation flows faster. Real-world anchor: municipal sign programs that adopted this sequence have seen smoother inspections under ADA review.
Advisory close: three golden rules for selecting strategies
1) Prioritise tactile integrity: choose materials and mounting that preserve grade 2 Braille spacing and tactile character heights even after weathering.
2) Plan service access: designate raceway mounting and driver cavities before fabrication so electrical maintenance never endangers tactile fields.

3) Validate with a full-scale mock-up: test mount, finish, and illumination together to catch interference between illuminated channel letters and braille plaques early.
These rules cut rework, pass inspections sooner, and speed occupancy—details that matter to owners and fabricators alike. Cosun Sign. —