

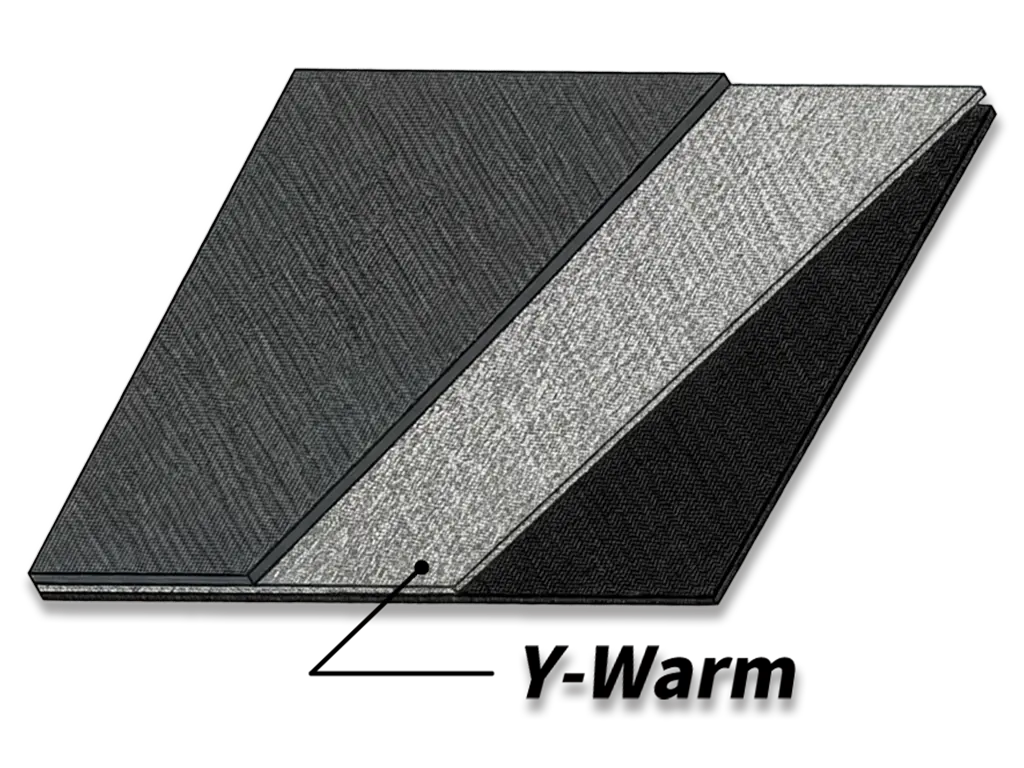
Quick compare: why material layout matters more than a single fabric
When you stack materials for a high-altitude shelter, the order and function matter as much as the choice itself — that’s the heart of a Comparative Insight. Start with a reflective outer layer, add a low-conductivity core, and finish with a moisture-managing inner face; this combo beats a thicker single-material shell most of the time. On Himalayan routes like the Everest South Col, where night temps fall below −30°C, teams learned that layered systems reduce heat loss far better than bulk alone. Practical builds often use thermal insulation fabric materials paired with a breathable interior — and yes, proper thermal lining still makes the difference between frost and comfortable rest.
Material trade-offs: insulation vs. weight vs. moisture control
Think of three threads pulling design choices apart: thermal conductivity, weight penalties, and breathability. Aerogel panels offer super-low thermal conductivity but can add cost and stiffness. Synthetic wadding gives decent R-value per gram and packs better, but it traps moisture if the lamination is wrong. Real-world teams often sacrifice a little R-value for a system that handles condensation — you’d rather lose a degree or two than wake up in soaked gear. The comparative view helps you pick which compromise is smartest for your route and expected conditions.
Layouts that work: tested layer recipes
From field notes and lab reads, a few layouts beat others in predictable ways. Successful recipes include:- Reflective shell + aerogel or low-conductivity foam core + moisture-wicking inner face (best for extreme cold).- Water-resistant outer + synthetic batt core + ventilated inner liner (best for mixed wet/dry seasons).- Breathable coated shell + thin insulation + detachable inner quilt (best for variable climbs).Each recipe targets a different failure mode: radiant loss, conductive bridging, or condensate buildup. That’s where testing matters — you need to measure thermal conductivity and real condensation cycles, not just loft on the spec sheet.
Common mistakes teams keep repeating — and quick fixes
People assume more loft = more warmth and forget how conductive seams and anchors create thermal bridges. Another slip: sealing everything for windproofing and killing breathability — condensation becomes the real enemy. Fixes are surgical: add thin spacer textiles at attachment points, break the conductive path with low-conductivity inserts, or use modular panels so you can ventilate when temps rise. — Small tweaks like isolation washers at grommets can save lots of heat.
How we test panels: metrics that actually matter
Useful lab checks include steady-state thermal conductivity, dynamic thermal response (how fast a panel warms or cools), and moisture-vapor transmission rate. In field trials, monitor surface temps and internal dew formation across a 24–72 hour window; those real cycles show failure modes that bench tests miss. Mount Everest expeditions and alpine rescue units provide great comparative data because their shelters face continuous freeze-thaw and wind load — that’s the real-world anchor that frames why layered layouts matter.
Production teardown: where cost meets performance
When you pull apart a production panel you look for obvious shortcuts: missing vapor barriers, inconsistent lamination lines, or cheap glue pooling at seams. Traceability helps — batch-level records of material thermal conductivity and adhesive cure cycles save headaches. In an operational production teardown, note the {main_keyword} in the insulation core and how the {variation_keyword} affects seam flexibility; those details tell you if an assembly will survive repeated pack-outs. Keep lamination tolerances tight and specify exact cure times for adhesives to avoid delamination at sub-zero temps.
Three golden rules for choosing layout and materials
1) Prioritize moisture control over max R-value: a dry 80% R material outperforms a wet 100% R material every time. 2) Design for attachment points: add low-conductivity inserts at seams and fasteners to stop thermal bridging. 3) Verify dynamic performance: require 24–72 hour field cycles as part of acceptance testing, not just static lab numbers. These metrics get you measurable outcomes: less condensate, steadier internal temps, and longer service life. Y-Warm shows how integrated layouts and tested linings solve on-route problems without adding unnecessary weight — practical value you can count on. —